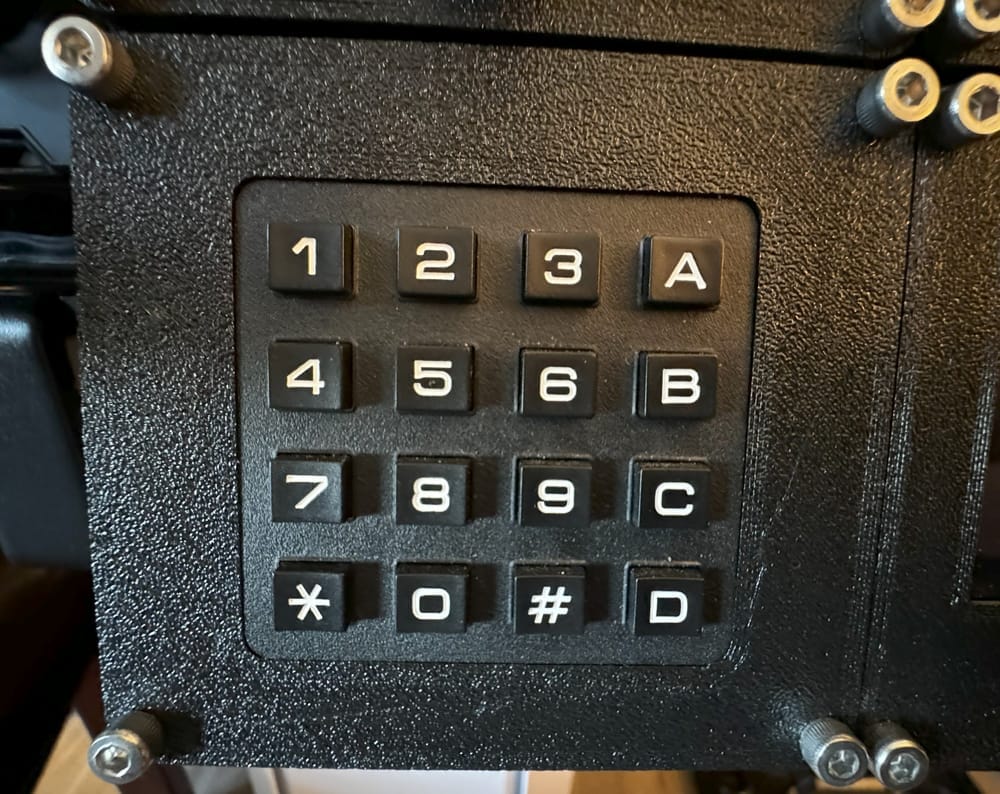
3. A Simple Keypad

Let's try to write a Sketch to send keyboard strokes using Arduino Leonardo's Keyboard.h library, based on keys pressed on a Keypad.
About Keypads
Normally if you had 16 pushbuttons, you would have to connect 1 pin on each button to a pin on the Arduino and the other pin to ground. That is 16 pins total for reading state and a lot of ground wiring! The way these are wired are in rows and columns, so you only have to use 8 pins, 4 for the rows and 4 for the columns.
To read the state of the buttons, we will use a Keypad.h library instead of having to check the state individually. After we get the key pressed, we'll use the Teensy's built in Keyboard library to send keyboard press/release events via USB. Let's look at an example:
#include <Keypad.h>
#include <Keyboard.h>

const int PRESS_DELAY = 100;

const byte ROWS = 4;
const byte COLS = 4;

// define what keys your keypad will send
char keys[ROWS][COLS] = {
  { '1', '2', '3', 'A' },
  { '4', '5', '6', 'B' },
  { '7', '8', '9', 'C' },
  { '*', '0', '#', 'D' }
};

// define the 8 pins you will use for the rows and columns
byte rowPins[ROWS] = { 8, 7, 6, 5 };     //connect to the row pinouts of the keypad
byte colPins[COLS] = { 12, 11, 10, 9 };  //connect to the column pinouts of the keypad

//Create an object of keypad
Keypad keypad = Keypad(makeKeymap(keys), rowPins, colPins, ROWS, COLS);

void setup()
{
  Serial.begin(115200);
}

void loop()
{
  char key = keypad.getKey();

  pressKey(key);
}

void pressKey(uint16_t key) {
    Keyboard.press(key);
    delay(PRESS_DELAY);
    Keyboard.release(key);
}
Breakdown
In line 10 we define a two dimensional array of characters that represent the keys our keypad will send when they are pressed.
Line 18 and 19 we define where our row and column pins are wired to in our Arduino.
In line 22 we create a Keypad object, and using the library's makeKeymap() function, we map our two dimensional char array to the Keypad object, and specify the number of row/col pin arrays we created earlier and specify how many ROWS and COLS we have.
In the loop() function, we ask the Keypad object to return what key is pressed using the getKey() function, and we then call the void pressKey(uint16_t key) util function to use the Keyboard library to press and hold the key for PRESS_DELAY milliseconds and then release it.
That's it! Build this sketch and upload it to your Arduino and see how each character is sent when you press the button.
One last thing, this deserves a nice 3D printed case and mounting bracket. A little bit of sketching in Autodesk Fusion 360 and some 3D printing later and voila!

