11. Say hello to my little friend, Teensy!

The problem
Up until this point, I've been sharing code examples for the Arduino Leonardo/Micro. Arduinos are an "ok" starter microcontroller board, but eventually you will realize that it doesn't have the specs needed for building something other than a keypad, game controller or a switch/buttons box. Their processor speed is only 16 MHz and they only have 2 kB of SRAM and, 32 kB of Flash memory. Even worse, the Leonardo/Micro that I've been using for these input devices really only has 28 kB of Flash memory.
When drawing complex graphics on a screen, we typically make use of a frame buffer to do graphics operations in memory before writing to the screen so we can have a high refresh rate. This is because writing to the screen is slow and we only want to update pixels as needed. Without a frame buffer, you pretty much have to rely on very simple graphics and remembering what you draw in the last frame so you can erase it and draw the new one (remember 70s and 80s flickering polygon graphics?)

Screen Resolution
Small TFT LCD displays that are used in these types of projects usually come in a resolution of 320x240 pixels. That is 76,800 pixels each consisting of 3 bytes for the RGB color, for a total of 230,400 bytes or 225 kB of required RAM. Even the Minima is near max capacity just for a frame buffer, which won't leave us much room for other variables we would need to create, especially used in complex mathematical operations to draw simple polygons on a screen.
The Alternatives
After doing some research across other microcontroller boards similar to Arduino, I looked some other popular boards that also work with the Arduino IDE and most of the existing community developed libraries. Here are some of them:
- Arduino R4 Minima

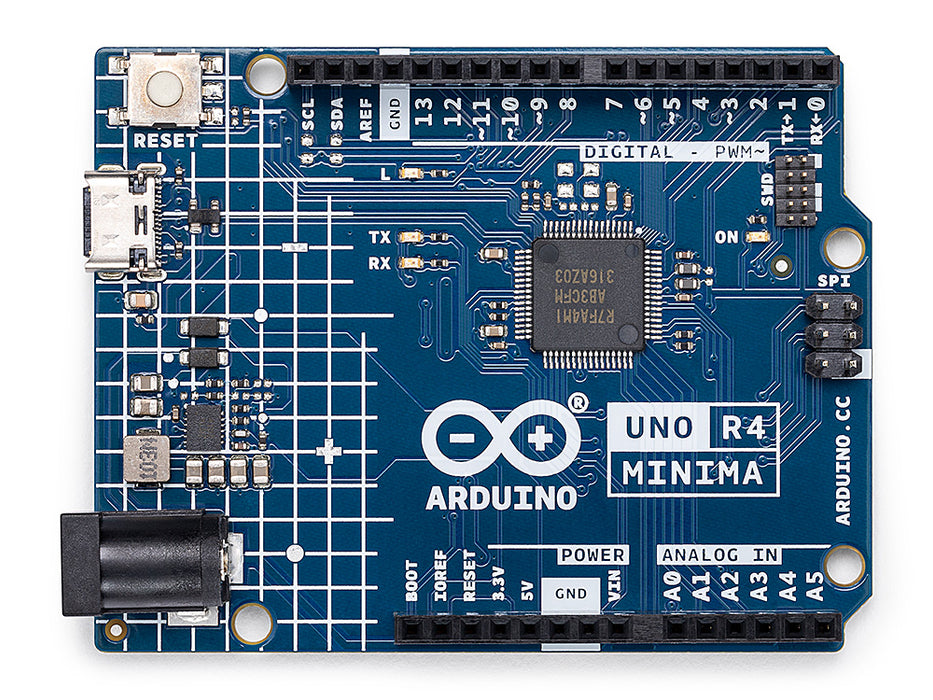
The newest series in the Arduino line is the Arduino UNO R4 Minima. It has a 48 MHz processor and 256 kB of Flash and 32 kB of RAM which could work for our code but with 225 kB already dedicated to the frame buffer, we can easily run out of memory (which I did during my testing) while trying to calculate and draw complex shapes on the screen.
- ESP32

The ESP32's are very popular and cheap. There are so many variants that honestly it was a bit overwhelming deciding what to buy for experimenting. I finally ended up buying a set of 3 ESP-WROOM-32 boards for around $15 on Amazon, which even have WiFi and Bluetooth on board. While a very interesting development board, and so many ideas come to mind with these capabilities, they only have around 520 kB RAM and 448 kB Flash. That's more than the newest Arduino R4, but after trying to compile some code, I realized I didn't have access to all the memory and after doing some digging, it's due to some partitioning that the ESP32 supports and the Default partitioning only gives you like 1/3 of the memory and I didn't bother looking into how to reclaim all that memory or the consequences of doing so.
- Teensy
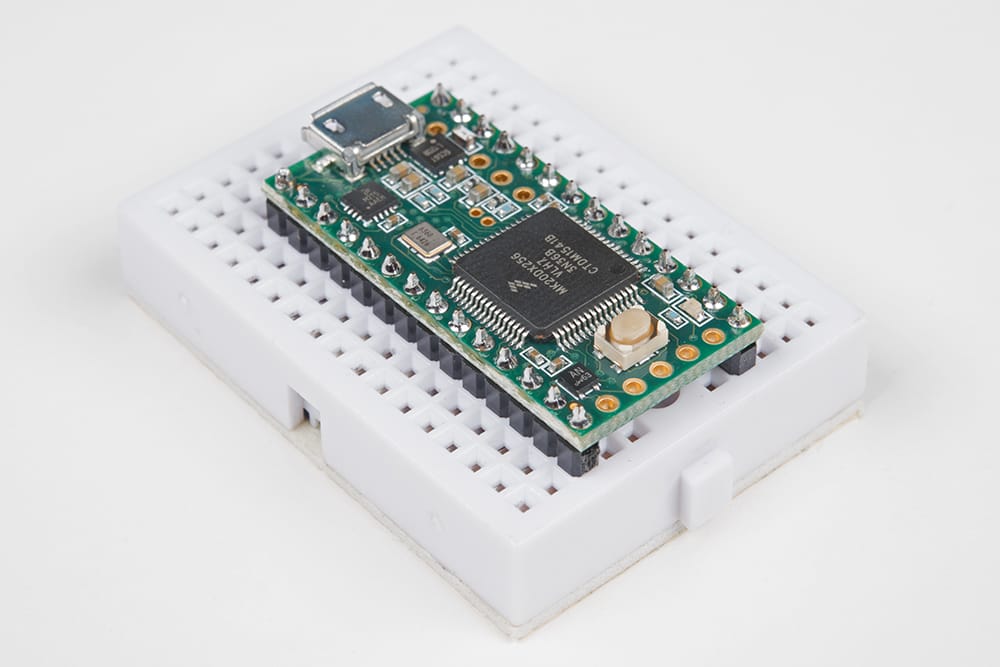
Another board I came across was the Teensy. Similar in size to the Arduino Micro, this board was created by Paul Stoffregen (PJRC.COM), who is a big contributor to a lot of the Arduino libraries used by the Arduino community. Teensy originally used an ATMEGA AVR 8-bit processor similar to the Arduinos but eventually he moved to using Cortex M 32-bit and 64-bit processors. Their newest boards the Teensy 4.0 and 4.1 rock a Cortex-M7 processor running at 600 MHz that can be overclocked to 912 MHz, both have 1024 kB of RAM and the 4.0 has ~2 MB of Flash Memory, while 4.1 has ~8 MB, which for complex graphic processing is perfect. Teensy 4.0 has 40 pins, and 4.1 has 55 and even comes with an Ethernet Chip.

Conclusion
After messing around with the latest Arduinos, the ESP32's and a few versions of the Teensy, I decided to use Teensy4.0 and 4.1 for the Flight Instruments I'm building, because of the small form factor, number of pins, processor speed and RAM/Flash memory size.
