1. Hello Flight Simulator World

Ever since I was a kid, I dreamed of flying planes. But growing up in a place where flight schools were not very accessible, my passion remained grounded—that was until I discovered Microsoft Flight Simulator 2020. This allowed me to get get a glimpse at the world of aviation, and I quickly realized this was something I wanted to pursue for real.
At the time, I only owned the Saitek Pro Flight Yoke and Combat Rudder Pedals (now Logitech), but as I began taking flying lessons, I realized I needed to expand my setup so I could practice what I was learning at school in my sim. I explored the existing sim hardware and purchased Logitech's Flight Simulator Multi-panel (which serves as an autopilot). I then started looking into Logitech's Switch Panel and their Flight Instrument Panels. However, as the cost of this hardware began to add up, I started thinking—why not build my own? As a software engineer with experience with the Arduino and Raspberry Pi platforms, 3D design and 3D printing, I figured it couldn’t be too hard to solder a few buttons and switches to an Arduino, design an enclosure that I could 3D print, all while keeping the same form factor as the commercial sim hardware and have some fun while at it.
Design and Implementation
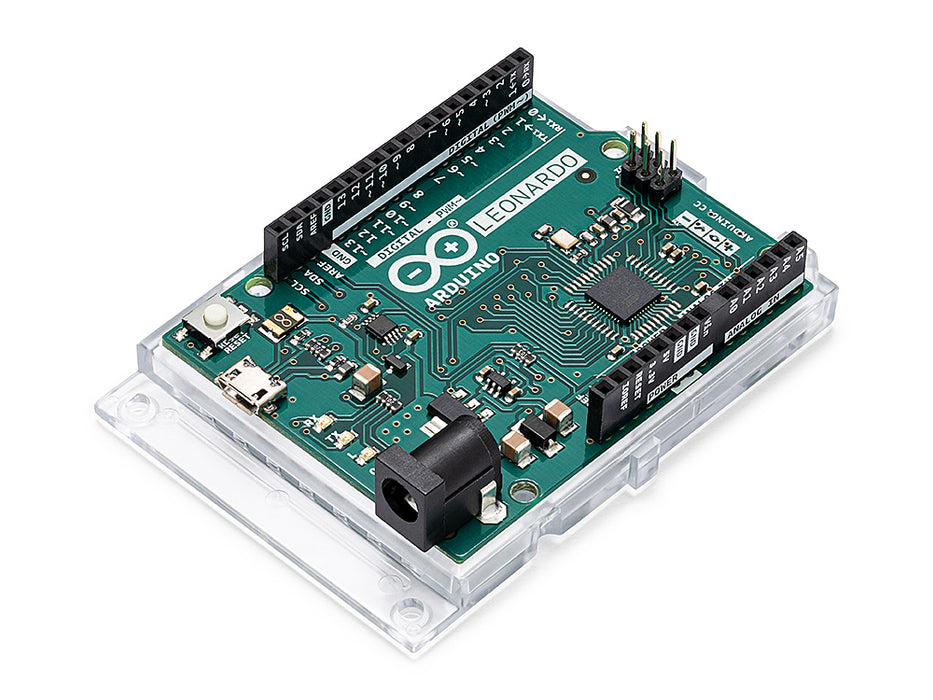
To my surprise, it was easier than expected. The Arduino Leonardo comes with built-in joystick emulation, making it simple to hook up buttons and switches that i can assign in MSFS 2020. I quickly pulled out the breadboard and put on a few buttons and switches and wired them to the Arduino, wrote a simple Sketch and uploaded it, launched up the sim and tested it. It worked right out of the box.

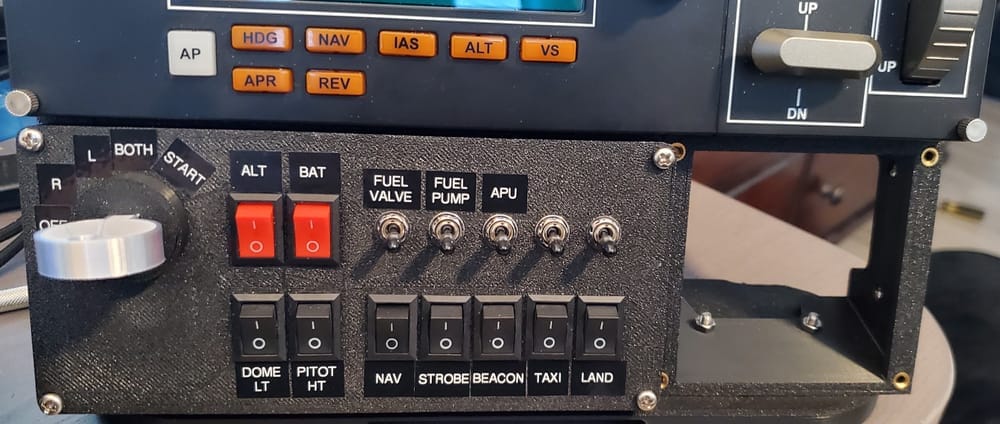
I then grabbed my digital caliper, I measured the Logitech Flight Simulator Multi-panel and the bracket, opened Autodesk Fusion 360 and with those measurements in mind, and began designing a simple enclosure for the switches. After all, I wanted to design something that I could mount along the Saitek Yoke and the Logitech Multi-panel and look seamless. The whole process took me about a month of trial and error, trying to line up the holes and getting similar knurled nuts to mount everything together.
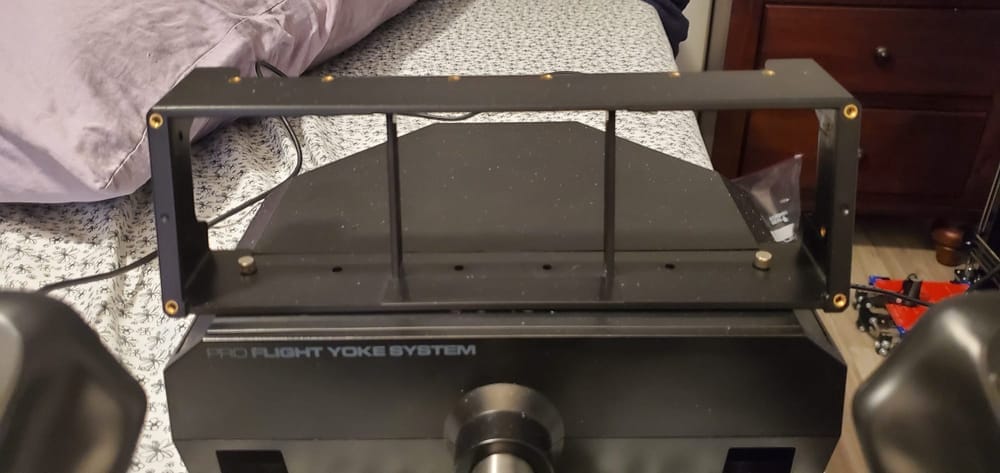
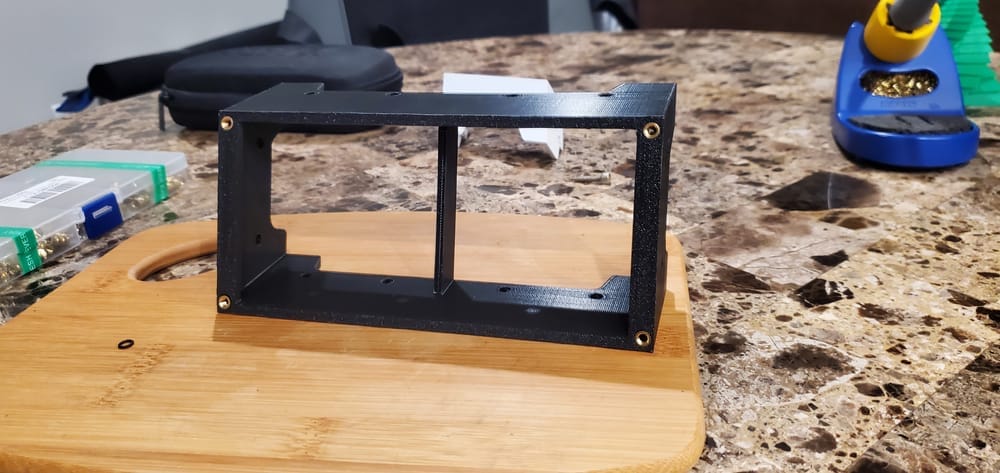
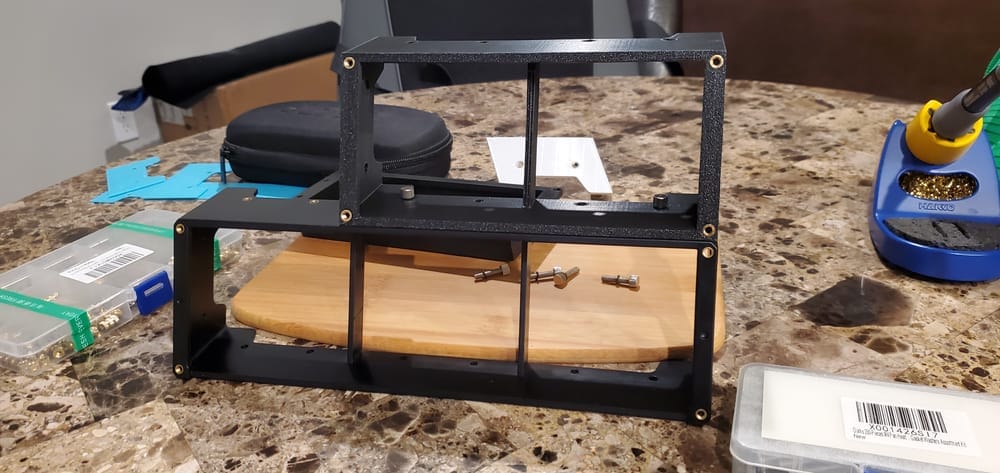
The controls
At the end, I decided to go with a rotary encoder to function as the Magnetos, and switches that I could assign in game for like the Master/Battery switch, lights, pitot heat, carb heat, fuel valve and pump, etc., pretty much the switches in the checklist for my school's airplanes.
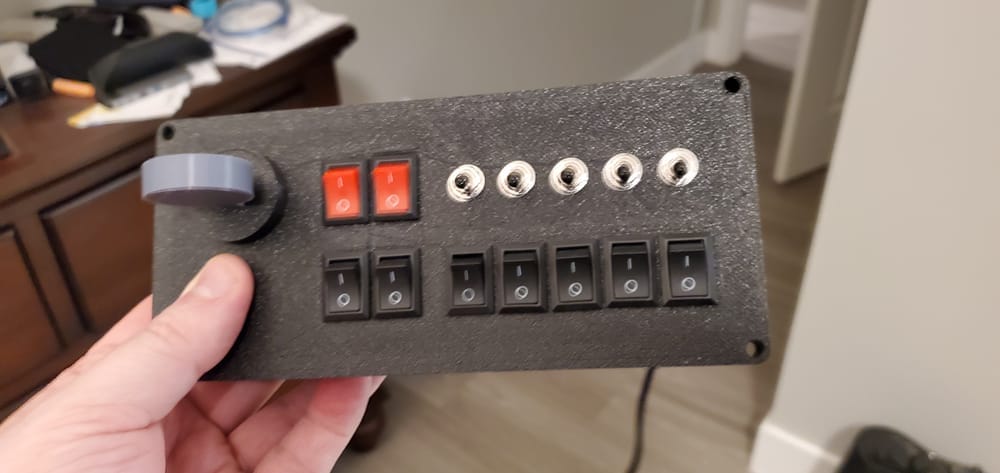
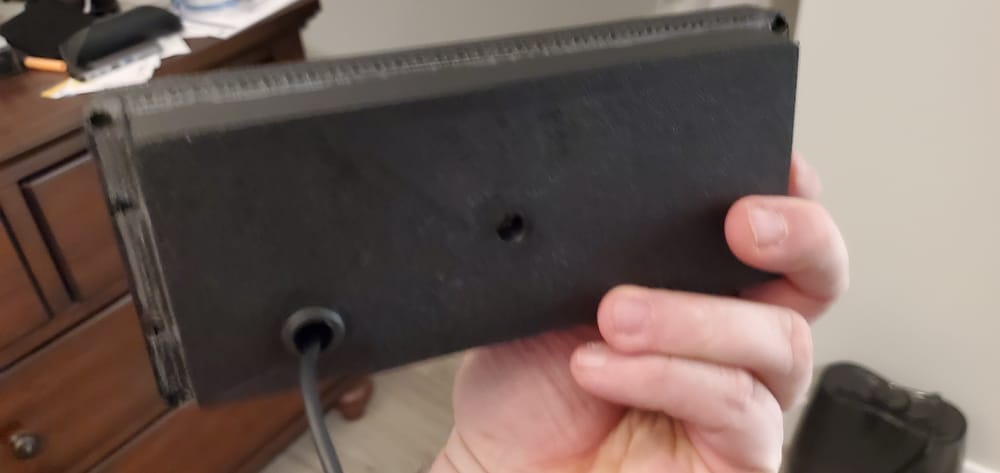
A few finishing touches, like labels and a smoother Silver Silk PLA+ ignition key, it all came together.
Conclusion
This project opened up a door to the world of building custom flight simulator parts—a door that led me through every step of building a product from the ground up. I ended up writing my own "controller" app using the MSFS SDK to read SimVars from Microsoft Flight Simulator (and X-Plane 12), sending data to my own flight instrument devices, and receiving events from the devices to control knobs and buttons in the game. I even set up data broadcasting from the sim to ForeFlight and Avare over the network, allowing me to track my in-game flights on either my iPad or my Samsung Tablet just as I do when I fly at my school.
From soldering and PCB design to 3D modeling custom parts, this journey has been an incredibly fun and rewarding experience. I even earned my Private Pilot License along the way, and overall having built all these instruments and controls, has lead me to be a better and more efficient pilot.
Now, after two years of this exciting adventure, I’m eager to share what I’ve learned. Whether you’re interested in flight simulation, software/hardware design, or just tinkering with Arduinos and 3D printers, I’ll be sharing code snippets, examples, and insights into every aspect of this process.
Stay tuned for more — whether you’re just starting or looking to take your sim experience to the next level, there’s something here for everyone.
